Layered Oreo Pie is rich, creamy, and decadent while also being incredibly easy to make from scratch! Make this chocolate no bake pie when you’ve got someone you want to impress or when you’ve got huge craving for chocolate.

I love chocolate pudding and I love oreos, but it seems like a lot of times desserts made with these two things are full of convenience items like instant pudding and cool whip.
I’m no hater when it comes to convenience items. I love a good mix hack.
But there’s definitely a difference in flavor and texture between real thing and convenience items. That’s why I wanted to make a from scratch no bake chocolate oreo pie without cool whip and without instant pudding.
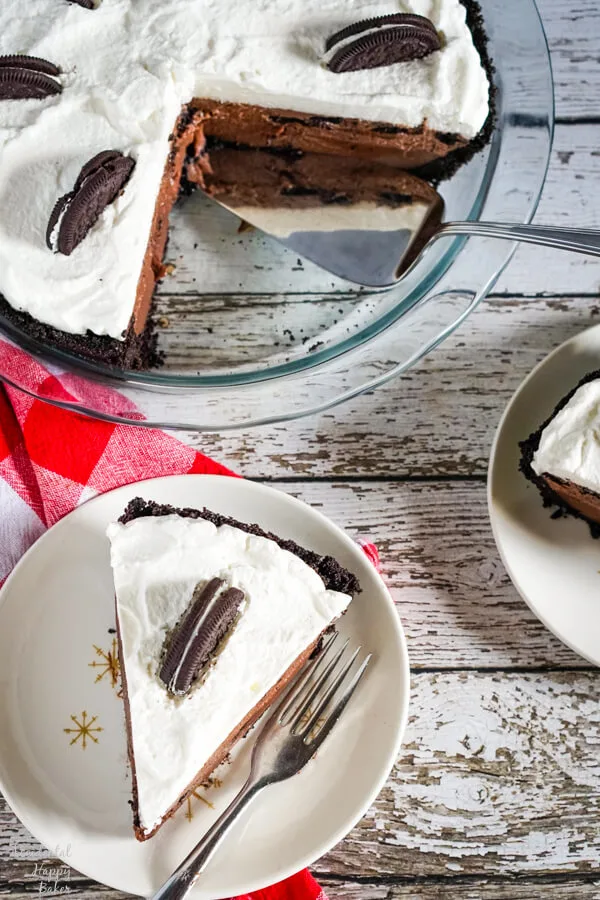
I’ve also found that sometimes when you use convenience items for desserts like this, they don’t always set up the way they should. Don’t you hate when you go to serve a piece of pie and it won’t hold it’s shape? You won’t have that problem with this layered Oreo pie.
For this chocolate Oreo pie, I wanted to do it right and get maximum creaminess, decadence and richness. These lucious chocolatey layers are all made from scratch!
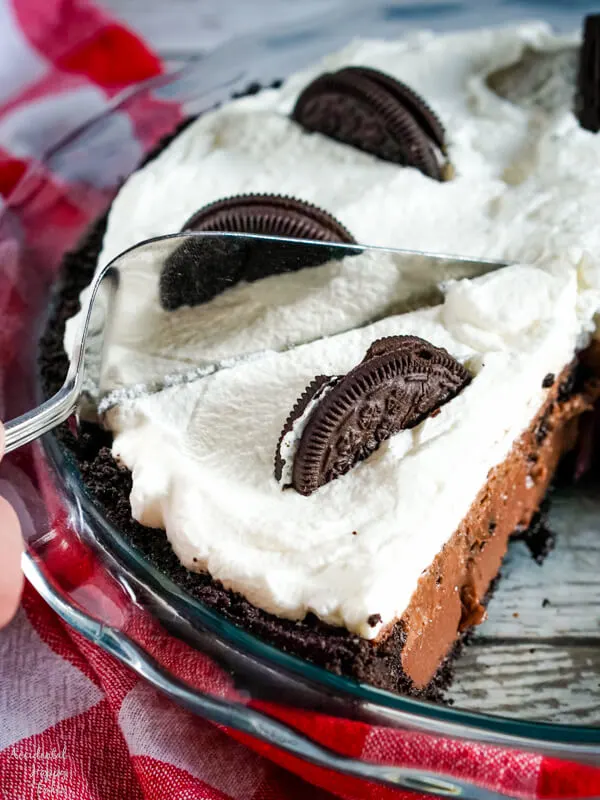
Oreo pie from scratch
This pie starts with a full package of Oreos, or store brand cream filled chocolate cookies. Finely crush your Oreos by giving them a whiz in the food processor or crush them in a ziploc bag and a rolling pin. I love this little food processor that I got on Amazon for tasks like this because it’s not big and clunky and it’s quiet! Mix the crushed oreos with melted butter and press them into a pie plate to make the crust.
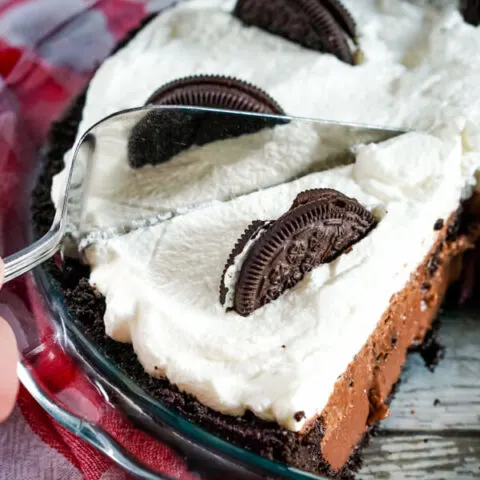
Up next is a dark and fudgy homemade chocolate pudding. Don’t worry, even though it’s made from scratch, it doesn’t take much time at all to whip up.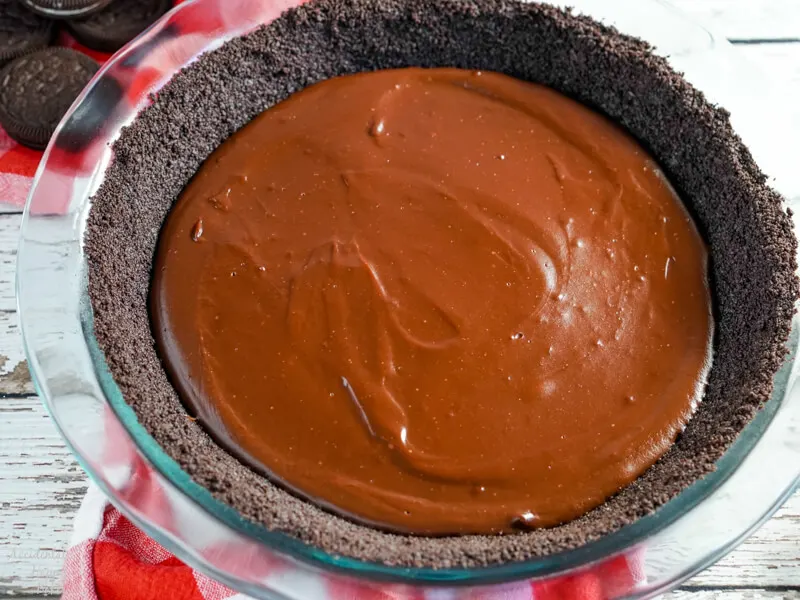
The second layer is a combination of chocolate pudding, crushed oreos and whipped cream for a chocolate cookies and cream mousse. 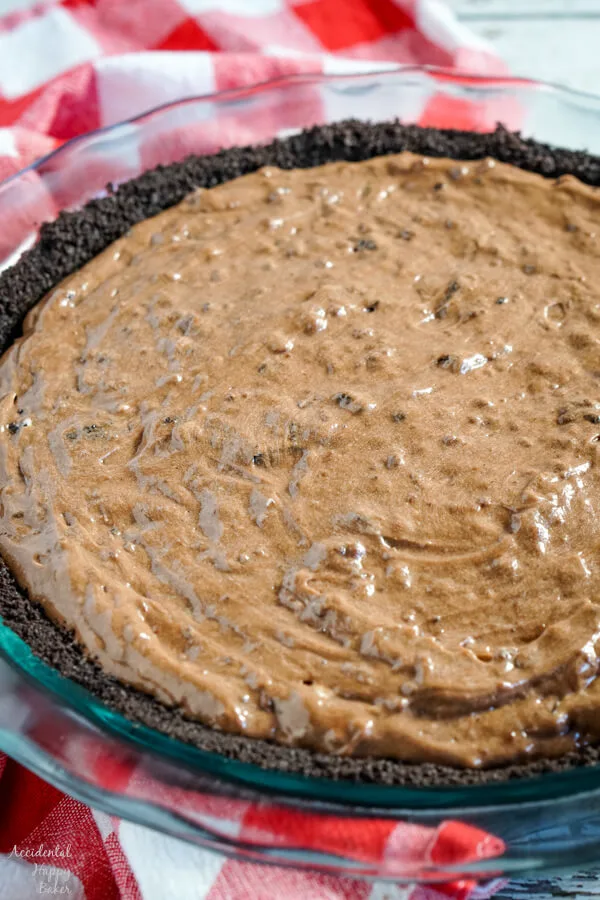
Of course it’s all topped off with real whipped cream, and a few more Oreo’s for decoration. 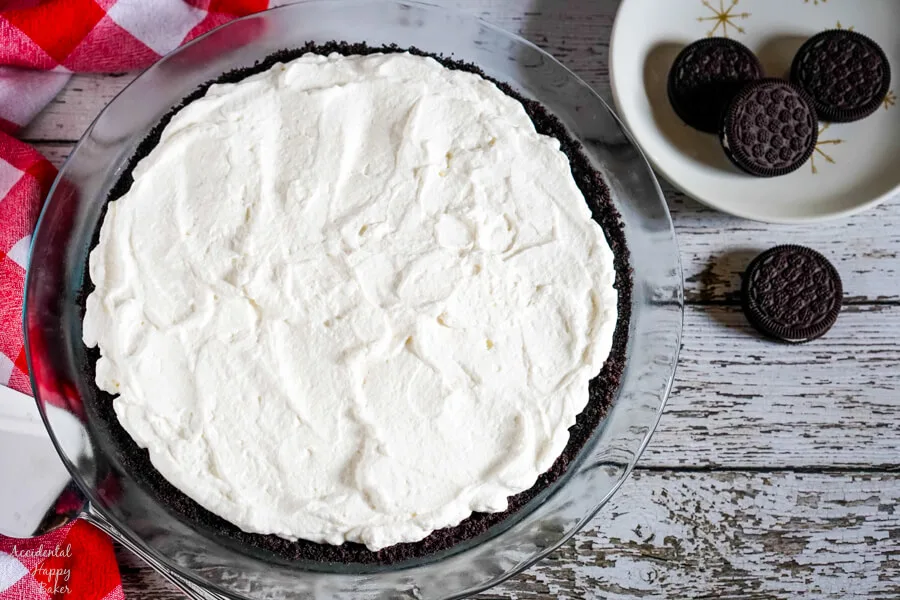
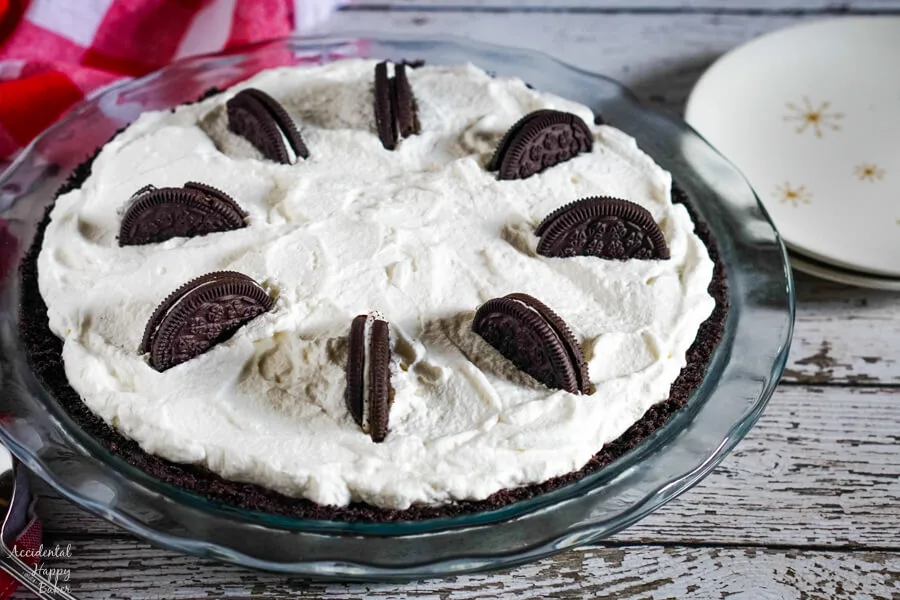
Making every layer of this Triple Layer Oreo pie from scratch takes a bit more time, but trust me, you can really taste the difference!
Can Oreo pie be made ahead of time?
Yes! One more thing that you’ll love about this pie, it actually tastes better the next day. That is if there’s any of it left over.
Oreo Pie
Oreo Pie is rich, creamy, and decadent while also being incredibly easy to make! Make this chocolate no bake pie when you’ve got someone you want to impress or when you’ve got huge craving for chocolate.
Ingredients
- 1 package Oreo cookies
- 7 tablespoons butter, divided
- 1/2 cup unsweetened baking cocoa
- 1 cup sugar
- 1/3 cup cornstarch
- 1/2 teaspoon salt
- 2 1/2 cups milk
- 2 cups heavy cream, divided
- 2 1/2 teaspoons vanilla, divided
- 3 Tablespoons powdered sugar
Instructions
- To make the pie crust, whiz together 25 cookies with 1/4 cup melted butter in the food processor. Alternately you can finely crush the cookies in a ziploc bag with a rolling pie and stir the butter in by hand. Press the buttered cookie crumbs evenly in the bottom and up the sides of a 9.5 inch pie plate. Set aside.
- In a heavy bottomed sauce pan, add the cocoa, sugar, cornstarch and salt. Lightly whisk the ingredients together. Gradually add 2 1/2 cups of milk and 1/2 cup heavy cream to the mixture, whisking until smooth. Cook on medium high heat, stirring constantly. Bring this mixture to a boil and allow to boil 1 minute. Remove the pan from the heat and stir in 3 Tablespoons of butter and 2 teaspoons of vanilla.
- Pour half of the chocolate pudding filling into the pie crust. Place both the pie and the remaining chocolate pudding in the fridge to cool while you make the whipped cream.
- To make the whipped cream, beat cream with chilled beaters on high. As the cream starts to thicken gradually add 3 Tablespoons of powdered sugar and 1/2 teaspoon of vanilla to the cream. Beat until stiff peaks form.
- Fold 1/2 of the whipped cream into the reserved chocolate pudding along with 8 coarsely crushed or chopped oreos. Spread over the pudding layer.
- Spread the remaining whipped cream over the top of the pie and chill 4-6 hours before serving. Top with any remaining Oreos if desired.
Pin this recipe for later!
Did you make this recipe?
Please leave a comment or review below! I’d also love to see what you’ve been making on Instagram or Facebook.
Accidental Happy Baker is a participant in the Amazon Services LLC Associates Program, an affiliate advertising program. As an Amazon Associate I earn from qualifying purchases at amazon.com.
